Network-wide protection gives every device on your local network the same level of filtering. You can stop unwanted content before it reaches phones, TVs, and laptops. This lowers bandwidth use and speeds up pages.
This guide walks you through planning, installing, and configuring a reliable DNS resolver for your home. You’ll learn hardware options, container versus direct installs, and how to point your router or set per-device DNS so every gadget benefits.
Security and manageability matter: set a strong admin password, tune logging, and control web access. The dashboard and API make monitoring easy, and pairing with a VPN extends filtering to cellular connections.
Expect practical tips on fallback DNS, sizing for small setups, and how to handle blocklists and allowlists so daily browsing stays smooth.
Key Takeaways
- Install once and protect your entire network from unwanted ads and trackers.
- Choose hardware and install method based on your comfort and budget.
- Use router or per-device DNS so every device benefits automatically.
- Secure the admin interface and keep lists and software updated.
- Pair with a VPN for the same filtering when you are away from home.
Why use Pi-hole for network-wide ad and tracker blocking
Filtering ads at the DNS layer removes many resource-heavy elements before pages load, so pages open faster and use less data.
Cleaner, faster browsing and reduced data usage
DNS-level filtering stops requests to known ad domains before content downloads. That cuts large images and video snippets that slow page load and waste bandwidth.
Less payload means lower data use on metered plans and longer battery life on phones and tablets.
Privacy and security benefits of DNS-level blocking
Blocking at the DNS edge reduces third-party tracking calls that erode privacy. It also limits exposure to malvertising by preventing connections to risky domains.
Block in-app ads on smart TVs and mobile devices
Because the filter lives on the network, you don’t need extensions on every device. Smart TVs and apps that don’t support browser blockers still benefit from fewer on-screen ads.
- Fewer requests make pages feel snappier across all devices.
- Centralized control via the web dashboard gives quick insights and tuning options.
- Pairing DNS filtering with a VPN can bring the same protections when you are away from home.
Prerequisites, hardware, and OS for a reliable home setup
A dependable host starts with modest hardware, always-on power, and a current operating system.

Raspberry Pi choices
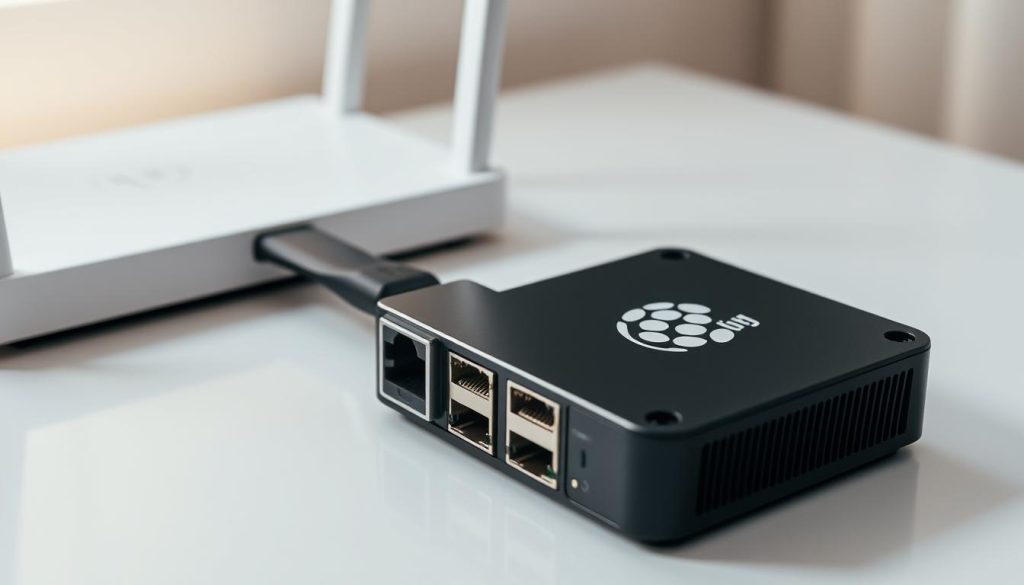
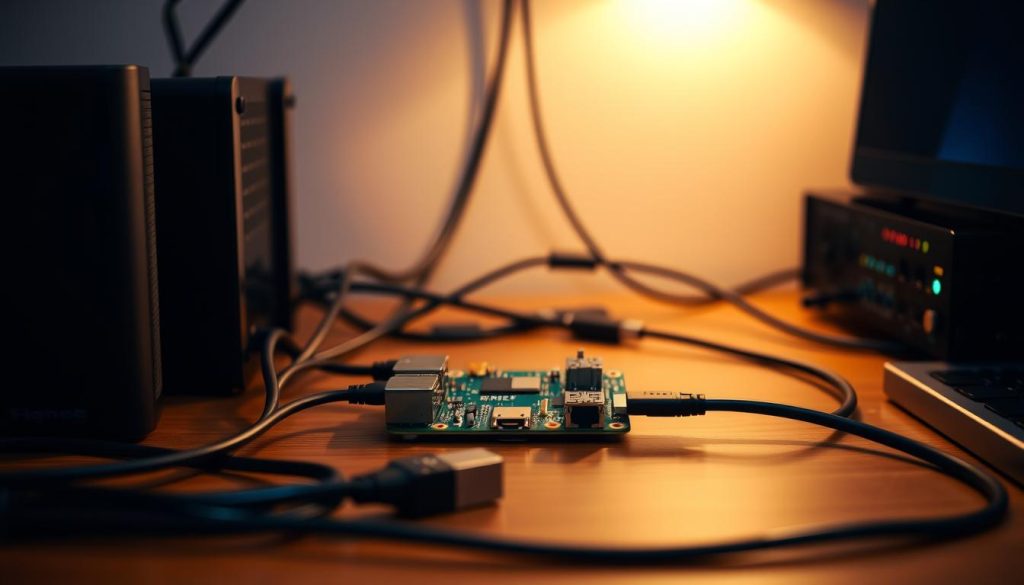
For most small homes, a Raspberry Pi Model B or later with at least 512 MB RAM and 2 GB free space running Raspberry Pi OS is sufficient.
Pi Zero 2 W can still work in 2024 for light query loads, but monitor latency and CPU use as lists grow.
Alternatives and form factors
Other ARM single-board computers supported by Armbian, an x86 mini computer, or even a small VM all run the software reliably when powered 24/7.
OS, access, and network needs
Install the latest Raspberry Pi OS and confirm you can reach the command line locally or via ssh <username>@<ip-address>.
Reserve a stable IP address for the server host so DNS remains consistent after reboots.
- Power: reliable 24/7 power prevents outages that stop name resolution.
- Storage: keep extra free space for logs and the gravity database.
- Connectivity: wired Ethernet is ideal; strong Wi‑Fi signal is acceptable if stable.
- Maintenance: update the operating system and software regularly for security and stability.
Installation paths: Docker container or supported operating system
Your install path shapes upgrades, backups, and network binding. Choose a container for portability or a direct install for minimal overhead.

When to use Docker: If you already run containers, Docker gives easy snapshot backups, clearer rollbacks, and isolation from host software. It suits users who want portability and simple restores.
Bare‑metal via automated installer: The installer asks a few setup questions and configures the service, web UI, and upstream provider choices. This route is friendly for newcomers and works well on lightweight operating images.
Plan for persistent storage so gravity lists and settings survive updates. Follow clear instructions to point router DHCP or devices at the new resolver. Also consider VPN integration early; both methods work, but interface binding and firewall rules need attention.
Pros and cons for home users
- Docker: easier backups and portability; slightly more complexity to learn.
- Bare‑metal: fewer moving parts and lower resource overhead; ties service to host.
- Both: require planning for persistent configuration and DNS server failover.
| Aspect | Docker | Bare‑metal |
|---|---|---|
| Portability | High — container images move easily | Low — tied to host OS |
| Upgrade/rollback | Simple snapshots and image rollback | Depends on OS package tools and snapshots |
| Resource overhead | Moderate — container runtime required | Minimal — runs directly on the host |
| Ease for newcomers | Requires container knowledge | Installer guides most choices with clear instructions |
Install Pi-hole and complete the initial setup
Start by updating system packages on your Raspberry Pi so the base is stable. Then review any installer script you fetch (avoid blind curl | bash), and run the automated installer. This guided step configures core services with minimal manual input.
Pick a consistent network address for the host. Accept the current IP as static in the installer or reserve that address in your router. A fixed address prevents intermittent resolution failures for every device on your network.
- Choose a trustworthy upstream dns provider for queries not blocked locally.
- Enable the Steven Black unified hosts list for a broad, community-maintained list.
- Install the pi-hole web admin and required web server so you can manage settings in a browser.
- Configure query logging and select an FTL privacy mode that balances diagnostics with privacy.
- Set a strong admin password immediately, then open the dashboard at the device’s address (http://<raspberry-pi>/admin) to verify metrics.
| Action | Why it matters | Quick tip |
|---|---|---|
| Update packages | Provides security fixes and stable libraries | Run apt update && apt upgrade before the installer |
| Static address | Keeps DNS reliable for all devices | Reserve via router DHCP or set in the installer |
| Steven Black list | Combines reputable ad, tracker, and malware sources | Enable it during list selection for broad coverage |
| Web interface & logging | Lets you tune settings and inspect queries | Pick an FTL privacy mode that fits household needs |
Use Pi-hole as your DNS server across the home network
Pointing every client at your local DNS resolver is the fastest way to enforce network-wide filtering. After installation, make the resolver the default so protection works without installing software on each device.

Configure your router’s DHCP to hand out the Pi-hole DNS
In your router’s DHCP settings, set the DNS option to the pi-hole dns server IP so new clients automatically use it for name resolution. This is the simplest path to cover phones, laptops, and smart TVs.
Manual per-device DNS when router changes aren’t possible
If the router is ISP-locked or lacks custom DNS, set DNS manually on key devices first. Start with workstations and media players, then expand to other clients.
Fallback DNS strategy for resilience
Avoid giving clients a secondary DNS that bypasses the filter. Instead, add a controlled fallback or run a second Pi-hole instance for failover. Confirm queries show up in the Pi-hole dashboard as devices come online.
- Document DNS changes in the router so firmware updates don’t reset settings.
- Apply the same DNS policy to VLANs and guest networks for consistent blocking.
- Validate blocking by visiting known ad-heavy pages from multiple devices.
Secure settings and privacy tuning in the web interface
Use the web admin to set strong credentials, limit access, and pick a logging level that fits your privacy needs.

Accessing the admin page
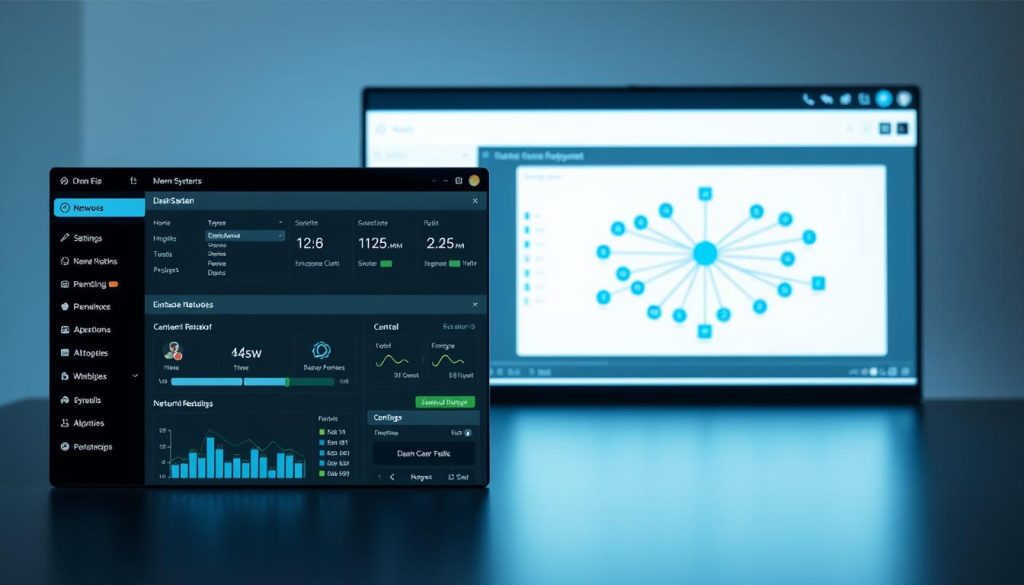
Sign in at http://<raspberry-pi>/admin with the password you created during install. The dashboard shows query totals, top domains, and recent activity.
Confirm the bound address in the settings so the resolver listens on the intended network interface and devices reach it reliably.
Tune query logging and privacy
Adjust query logging to capture only what you need for troubleshooting. Less logging reduces stored personal data.
Select an FTL privacy level that matches your goals. Use anonymized logging for daily use and switch to full detail only during short diagnostics.
Manage blocklists and allowlists
Keep the Steven Black unified hosts list enabled for broad coverage, but review lists regularly.
When false positives appear, add the domain to an allowlist and document the change. Prune any lists that cause frequent breakage to keep browsing smooth.
- Limit web interface exposure to trusted subnets and secure admin authentication.
- Periodically check the status page to ensure FTL and DNS services are healthy.
- Scan logs for spikes or anomalies and adjust settings as needed.
Extend ad blocking everywhere with a VPN using Tailscale
Take your home DNS policy on the road by creating a personal tailnet and using it to route remote queries back to your local resolver.
Create your tailnet with your identity provider
Install the Tailscale client on a phone or laptop and sign in with Apple, Google, or Microsoft SSO. This gives you simple, SSO-based access to your private mesh.
Install and authenticate Tailscale on the Raspberry Pi
Enable Tailscale on the Pi and confirm it appears on the Machines page in the admin console. Consider disabling key expiry if you need stable DNS availability.
Pi configuration and DNS routing
Set the resolver to listen on the tailscale0 interface (100.x.x.x address) so tailnet clients reach the server securely.
In Pi-hole DNS settings, switch to Expert mode. Only enable Permit all origins when the device is behind a firewall and protected with a strong admin password.
Configure tailnet DNS and verify remote blocking
In the Tailscale admin, add the Pi’s tailscale address as a custom nameserver and enable Override DNS servers. Devices on the tailnet will then use your pi-hole dns resolver for queries.
- Test by visiting ad-heavy sites on cellular or public Wi‑Fi; turning off the Tailscale client should restore ads.
- Monitor traffic in the dashboard to confirm remote devices resolve through your server.
Monitoring, stats, and ongoing maintenance
Regular monitoring helps you spot misconfigurations before they affect users.
The web dashboard centralizes query totals, top domains, and client activity so you can spot sudden spikes quickly.
Use the API for custom reports and to feed metrics into home observability tools. That lets you build historical graphs and track changes over time.
Reading the dashboard and using the API
Check top blocked and allowed domains to find false positives or unexpected traffic. Review recent queries per client to find misconfigured devices.
Export metrics via the API for longer-term analysis. Integrate with Grafana or other dashboards to visualize query trends and latency.
Keeping lists, software, and the system healthy
Update blocklists regularly so new ad and tracker domains are covered. Prune stale entries that cause frequent breakage.
Keep the software and FTL updated for security patches and performance gains. Schedule maintenance windows to refresh gravity and restart services with minimal disruption.
- Track CPU, memory, and storage so the dns resolver stays responsive.
- Audit logs for repeated false positives and add targeted allowlists when needed.
- Plan periodic backups of settings and the gravity database for fast recovery.
Troubleshooting, performance tips, and alternatives
If clients suddenly stop resolving domains, small checks usually reveal the culprit.
First verify the core server services are running and that the host is reachable from a laptop or phone. Confirm FTL and DNS processes are healthy and that the pi-hole dns server IP hasn’t changed in the router or DHCP reservations.
Diagnosing resolution issues and restoring connectivity
Ping the host, check service status, and inspect recent logs for errors. If the host is down, reboot the computer or container and recheck the interface.
Implement a fallback: have the router source DNS from the resolver with a vetted external provider as backup. Test failover to ensure clients regain service when the local resolver is offline.
Handling false positives as lists grow
As your block list expands, expect occasional false positives. Use query logs to find blocked domains, then add precise allowlist entries or temporarily disable the offending list.
Performance sizing for small home networks
For typical US households (1–10 PCs and several phones/TVs), modest SBCs handle blocking and logging fine. Monitor CPU and memory and scale the host if latency rises.
Alternatives and complements
If you need extra features like per-client DoH policies or advanced parental controls, consider AdGuard Home, Blocky, or cloud options such as NextDNS. You can also configure your router’s DNS or run the resolver on an x86 mini PC or VM for easier management.
Building a Pi-Hole System to Block Ads & Trackers in Your Home
Treat these steps as a concise runbook: install, configure, and verify DNS filtering across your devices.
Step-by-step recap from install to whole-home DNS blocking
- Install a supported OS or run the container, update packages, and execute the automated installer.
- Set a static IP, pick an upstream provider, enable the Steven Black list, and install the web admin for easy control.
- Configure router DHCP so clients use the local resolver and the entire network gets protection without per-device setup.
- Check the dashboard and test ad-heavy pages from multiple clients to confirm blocking works.
When to add DHCP, VPN, or subnet routing features
- Add internal DHCP in Pi-hole only if your router limits DNS options or you want unified addressing.
- Introduce a VPN like Tailscale to use pi-hole on the road; bind the resolver to tailscale0 and set tailnet nameservers.
- Consider subnet routing later for devices that cannot join the tailnet or need special access across VLANs.
Conclusion
Routing DNS through a local resolver gives you faster, cleaner browsing across every device on the network.
Follow the concise instructions: install pi-hole, set a static address, pick an upstream dns provider, enable the Steven Black list, and secure the web interface and logging/privacy settings.
Point your router or each client at the dns server so the entire network sees fewer ads and less unwanted traffic. For remote access, set your tailnet nameserver to the Pi’s Tailscale address and enable Override DNS servers.
Maintain the system by checking the pi-hole web page, updating lists, and tweaking allowlists when needed. Keep the admin protected with a strong, password and bind only the interfaces you require for uptime and privacy.
