You care about your online privacy and security. But ads and trackers can threaten it. They can slow down your internet, use up bandwidth, and even risk your personal data.
A Pi-Hole system is here to help. It’s a network-wide ad blocker that boosts your online safety and privacy. With a Pi-Hole, you can block unwanted ads and trackers on all devices in your home.
The Pi-hole app lets you customize settings to fit your needs. For more details, check out the official Pi-hole documentation.
Key Takeaways
- Enhance your online privacy and security with a Pi-Hole system.
- Block unwanted ads and trackers across all devices in your home network.
- Customize your Pi-Hole settings to suit your specific needs.
- Improve your browsing experience by reducing bandwidth consumption.
- Protect your personal data from potential threats.
What is Pi-Hole and How Does It Work?
Pi-Hole acts as a DNS sinkhole, blocking unwanted content. This makes browsing cleaner and more private. It’s key for a better online experience.
Understanding Ad Blocking Technology
Pi-Hole uses DNS-based Ad Blocking to filter out ads and trackers. It works at the network level, not just on devices. This means all devices on your network get the benefits.
It’s set up as a DNS server. When a device tries to access a website, Pi-Hole checks the DNS request. If it finds an ad or tracker, it blocks it.
Benefits of Using Pi-Hole
Using Pi-Hole boosts privacy and speeds up browsing. It blocks trackers and ads, keeping your online activities private. Plus, web pages load faster without ads.
- Enhanced privacy through the blocking of trackers and ads
- Improved browsing speeds due to reduced network traffic
- Reduced data usage, as unwanted content is blocked
Overall, Pi-Hole is a powerful tool for controlling your online experience. It blocks unwanted content at the network level. It’s great for both households and individuals.
Essential Components for Your Pi-Hole Setup
The success of your Pi-Hole setup depends on its hardware. To block ads and trackers on your home network, you need the right parts.
Raspberry Pi Options
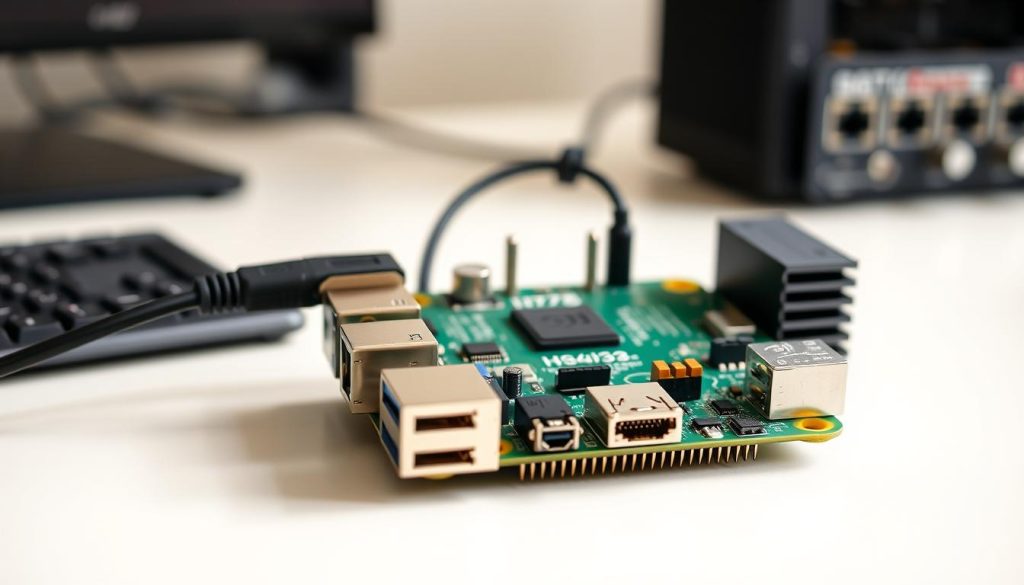
You can use a Raspberry Pi Model B or later for this project. It should have at least 2 GB of free space and 512 MB of RAM. The Raspberry Pi is the heart of your Pi-Hole, managing DNS requests and filtering out bad content.
When picking a Raspberry Pi, think about what you need. Newer models are faster and have more features.

Additional Hardware Requirements
You’ll also need some extra parts for your Pi-Hole. These include:
- A microSD card for the operating system and Pi-Hole software.
- A power supply for your Raspberry Pi.
Having the right hardware makes setting up your Pi-Hole easier. It also ensures it works well.
| Component | Specification | Importance |
|---|---|---|
| Raspberry Pi | Model B or later | High |
| microSD Card | At least 2 GB free | High |
| RAM | At least 512 MB | Medium |
| Power Supply | Compatible with Raspberry Pi | High |
Step-by-Step Guide to Installing Pi-Hole
To start with Pi-Hole, prepare your Raspberry Pi first. This involves a few important steps to get you going quickly.
Preparing Your Raspberry Pi
First, flash Raspberry Pi OS onto your microSD card. This step is key as it gives your Raspberry Pi the operating system it needs. Download the latest Raspberry Pi OS from the official Raspberry Pi website. Then, use Balena Etcher to put the image on your microSD card.
After flashing the OS, put the microSD card in your Raspberry Pi and turn it on. You’ll need to set up your Raspberry Pi’s language, keyboard layout, and other preferences. Make sure it’s connected to the internet, preferably with an Ethernet cable for better stability.
Installing Pi-Hole Software
Now that your Raspberry Pi is ready, it’s time to install Pi-Hole. Open a terminal on your Raspberry Pi and enter this command to start the installation script:
curl -sSL https://install.pi-hole.net | bash
Just follow the instructions on the screen to finish the installation. You’ll need to set some settings, like your default DNS provider and block lists. Stick with the default settings unless you have a specific reason to change them.
Once installed, you’ll get a password for the Pi-Hole admin dashboard. Save this password safely.

By following these steps, you’ll have Pi-Hole set up on your Raspberry Pi. It will block ads and trackers on your network. Next, we’ll look at how to configure Pi-Hole for the best performance.
Configuring Your Pi-Hole for Optimal Performance
Setting up Pi-Hole is key to blocking ads and keeping your network safe. After installing it, you’ll need to log into the admin dashboard to tweak settings.
Accessing the Admin Dashboard
To get to the Pi-Hole admin dashboard, open a web browser. Go to http://pi.hole/admin or your Raspberry Pi’s IP address plus /admin. You’ll see a login page to enter your password.
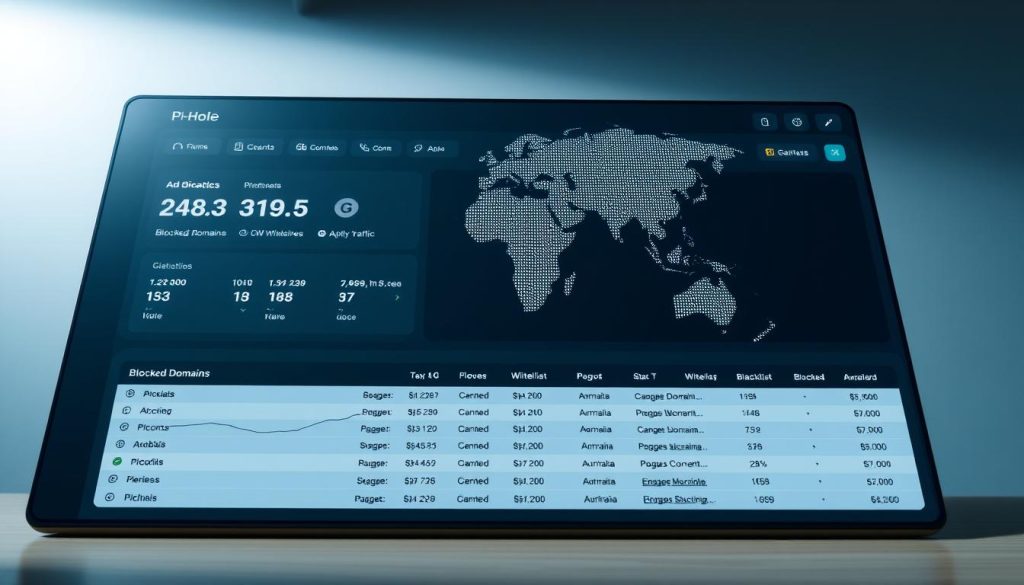
The dashboard shows how well your Pi-Hole is doing. It displays blocked ads and queries. After logging in, you’ll see a summary of your Pi-Hole’s activity. This includes graphs on DNS queries, blocked ads, and more.

Customizing Block Lists
Customizing block lists is important for your home network. You can add or remove lists as needed. To do this, go to the “Block Lists” section in the admin dashboard.
In this section, you can turn lists on or off and add new ones. Think about what ads you want to block. For example, you might block malware or tracking domains.
Tips for Customizing Block Lists:
- Regularly review and update your block lists to ensure they remain effective.
- Consider adding lists that block tracking domains to enhance your privacy.
- Be cautious when adding new lists, as overly broad blocks can sometimes cause issues with certain websites.
By following these steps, you can make your Pi-Hole work better. This will improve your browsing and keep your network private.
Integrating Pi-Hole with Your Home Network
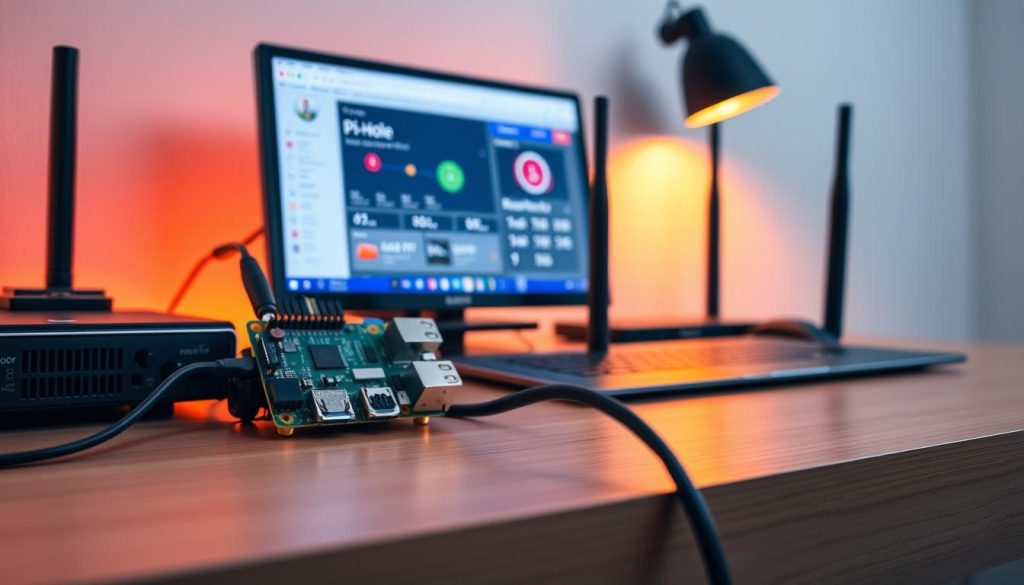
A secure home network starts with Pi-Hole. First, assign a static IP to your Raspberry Pi. Then, set your router’s DNS to point to Pi-Hole. This ensures all devices get ad-blocking and tracking protection.
Assigning Static IP Addresses
Give your Raspberry Pi a static IP. This makes it easy for your router and devices to find it. To do this, log into your router’s admin dashboard and follow the instructions for static IPs.
- Log in to your router using its IP address.
- Navigate to the section for assigning static IP addresses.
- Enter the MAC address and desired IP address for your Raspberry Pi.
- Save your changes.
Configuring Router Settings
It’s key to set your router to use Pi-Hole for DNS. This means setting Pi-Hole’s IP as your router’s DNS server.
- Access your router’s admin dashboard.
- Find the DNS settings section.
- Replace the existing DNS server addresses with the IP address of your Pi-Hole.
- Save your changes and reboot your router.
Here’s a comparison of DNS settings before and after configuring Pi-Hole:
| Setting | Before Pi-Hole | After Pi-Hole |
|---|---|---|
| DNS Server 1 | 8.8.8.8 | 192.168.0.100 (Pi-Hole IP) |
| DNS Server 2 | 8.8.4.4 | 192.168.0.100 (Pi-Hole IP) |

By following these steps, you’ll integrate Pi-Hole into your network. This boosts your Home Network Privacy and Network Security Solution. Your Pi-Hole is now ready to block ads and trackers for all devices.
Advanced Features of Pi-Hole
To boost your Pi-Hole setup, explore advanced features like conditional forwarding and DHCP settings. These tools offer detailed control over your network’s DNS settings. They improve both security and performance.
Using Conditional Forwarding
Conditional forwarding in Pi-Hole lets you send DNS queries to different servers based on the domain. It’s great for ensuring specific domains use a certain DNS server. This is key for certain network setups or to speed up website access.
To set up conditional forwarding, go to your Pi-Hole admin dashboard. Then, find the DNS settings section. There, you can enter the DNS server IP addresses and the domains they should handle.
Setting: System
Optimizing Pi-Hole’s system settings is vital for its performance and network integration. Setting up DHCP (Dynamic Host Configuration Protocol) is a crucial part of this. It lets Pi-Hole manage IP addresses in your network.
With DHCP settings, you can control how devices get IP addresses. This helps keep your network stable and secure. Pi-Hole’s DHCP server can assign IP addresses within a range. It can also give DNS server info to clients, making sure they use Pi-Hole for DNS.
Key benefits of configuring DHCP with Pi-Hole include:
- Centralized management of IP addresses
- Improved network stability through controlled IP address assignment
- Enhanced security by ensuring devices use Pi-Hole for DNS resolution
Using these advanced features can greatly improve your Pi-Hole setup. It makes your network more robust and reliable.
Troubleshooting Common Issues with Pi-Hole
Troubleshooting Pi-Hole means fixing DNS issues and accessing blocked sites. Pi-Hole helps block ads and improve your web browsing. But, sometimes, you might face problems that need fixing.
DNS Resolution Problems
DNS problems happen when Pi-Hole can’t find domain names. This can cause websites to not load or other network issues. Start by checking the Pi-Hole admin dashboard for error messages or logs.
Common causes of DNS resolution problems include:
- Misconfigured DNS settings
- Issues with the upstream DNS provider
- Conflicts with other network devices
To fix these issues, try adjusting your DNS settings. Or switch to a different upstream DNS provider. You can also set up your router to work better with Pi-Hole.
Accessing Blocked Content
At times, Pi-Hole might block content you want to see. This can happen if the content is on a blocked domain. To see blocked content, use the Pi-Hole admin dashboard to whitelist the domain. Or adjust your block lists to be less strict.
Steps to access blocked content:
- Log in to your Pi-Hole admin dashboard
- Navigate to the “Whitelist” section
- Add the domain you want to access to the whitelist
By managing your block and whitelist lists well, you can block ads and trackers. Yet, still access the content you need.
Enhancing Privacy Further with Pi-Hole
To keep your online activities safe, using Pi-Hole with other privacy tools is key. Pi-Hole blocks ads and trackers at the network level. But, adding more tech can make your online privacy even better.
Combining with VPN Services
A Virtual Private Network (VPN) boosts your online security when used with Pi-Hole. A VPN encrypts your internet traffic, making it hard for others to see your data. Here’s why using Pi-Hole with a VPN is a good idea:
- It makes your internet traffic safer with encryption.
- It hides your IP address, keeping you private.
- It protects you from data collection by ISPs and others.
When picking a VPN, look at its logging policy, server locations, and device compatibility.
Utilizing HTTPS Everywhere
Using HTTPS (Hypertext Transfer Protocol Secure) is also vital for online privacy. HTTPS encrypts your data when you visit websites. Many browsers have features or extensions like “HTTPS Everywhere” to help.
To get the most out of HTTPS:
- Choose a modern web browser that uses HTTPS by default.
- Install extensions that make sure websites use HTTPS.
- Be careful with websites that don’t use HTTPS, as they might be risky.
Maintaining Your Pi-Hole System
To keep your Pi-Hole working well, regular care is key. This means updating it often, backing up your settings, and watching how it performs.
Update and Backup
Keeping your Pi-Hole updated is crucial. Updates bring bug fixes, security boosts, and new features. It’s also smart to back up your settings to avoid losing them if something goes wrong.
Performance Monitoring
It’s important to watch how your Pi-Hole is doing. Look at the logs and dashboard for any odd signs or errors. This helps keep your ad-blocking smooth and efficient.
By taking these steps, your Pi-Hole will stay effective. It will keep your home network safe and free from ads.
