This guide explains why boot-level controls matter and what steps you can take on Windows PCs.
Modern threats can run before the operating system starts, so a verified chain from power-on to desktop is vital. Windows uses multiple layers: signed UEFI checks, kernel validation, ELAM drivers, and measured logs that a TPM chip anchors.
The goal here is practical. You will learn checks and prerequisites, how to enable the right options in firmware menus, safe GPT conversion notes, and basic troubleshooting across common U.S. PC models. Steps include validating current state in Windows tools and using Advanced startup: Troubleshoot > Advanced options > UEFI Firmware settings.
Expect clear steps for Windows 10 and Windows 11, plus compatibility notes and OEM menu differences. Follow known Microsoft and manufacturer practices so administrators and power users can reduce unseen pre-OS threats and keep the startup path trusted.
Key Takeaways
- Pre-OS threats can bypass OS defenses; boot controls add a trusted chain.
- Layered features (signed UEFI checks, Trusted Boot, ELAM, Measured Boot) work together.
- TPM 2.0 anchors measurements and enables remote attestation.
- Certified Windows PCs ship with checks on by default; OEM menus vary.
- Validate settings in Windows, change firmware carefully, and verify after restart.
Why Secure Boot and TPM matter for firmware integrity and startup security
Pre-OS threats target the earliest moments of a system. Rootkits and bootkits load before the operating system and hide in kernel mode. Firmware rootkits can overwrite BIOS or UEFI components. Bootkits can replace a bootloader and bypass normal checks if signatures are not enforced.
Rootkits, bootkits, and the pre-OS attack surface
These attacks defeat standard defenses by running first. Once active, they can tamper with drivers and system calls. That makes recovery and detection much harder for administrators and users.
How secure boot, trusted boot, ELAM, and measured boot work together
Secure Boot enforces a signed chain of trust on UEFI systems, stopping unsigned or altered bootloaders and firmware components.
Trusted Boot makes the bootloader validate the Windows kernel and its early drivers so tampered components are rejected.
ELAM is an early anti-malware driver that classifies and blocks unapproved drivers before the full OS starts.
Measured Boot records boot measurements in the TPM so enterprises can perform remote attestation and verify system integrity remotely.
| Threat Type | Target | Countermeasure | Requirement / Note |
|---|---|---|---|
| Firmware rootkit | BIOS / UEFI | Signed firmware checks | UEFI 2.3.1 support recommended |
| Bootkit | Bootloader | Signed boot chain | Secure boot enabled by default on certified windows PCs |
| Kernel/driver rootkit | Kernel space | Trusted boot + ELAM | ELAM evaluates drivers early |
| Integrity verification | Startup measurements | Measured Boot + TPM | Enables remote attestation |
System requirements and prerequisites before you begin
Start by verifying core platform compatibility and software readiness on each system.
UEFI vs. Legacy BIOS and GPT vs. MBR compatibility
Secure boot requires modern UEFI mode, not Legacy BIOS. Check Windows System Information (msinfo32) for BIOS Mode and Secure Boot State.
If the PC reports Legacy, plan a conversion to GPT and switch to UEFI so the boot chain will work correctly. Use Microsoft’s MBR2GPT tool only under supported conditions.
Hardware and OS readiness: TPM 2.0, Windows versions, and updates
Windows 11 mandates TPM 2.0 and UEFI. Windows 10 supports these security features but may need updates or specific builds.
Look for Intel PTT, AMD fTPM, or a discrete module in firmware settings to confirm TPM availability. Update OEM firmware and drivers before making low-level changes.
- Back up critical data and schedule a maintenance window.
- Document current firmware settings and vendor menu options so you can revert if needed.
- Confirm organization requirements for security features before mass deployment.
Check your current Secure Boot and TPM state in Windows
Start by checking what your PC reports in Windows so you know which options are available.
Verify Secure Boot status with msinfo32
Press Win+R, type msinfo32, and open System Information. Look for BIOS Mode and Secure Boot State.
If BIOS Mode shows UEFI and Secure Boot State reads On, the system enforces signed startup components. Off means the feature is supported but disabled. Unsupported indicates legacy BIOS or missing UEFI capability.
Verify TPM 2.0 with tpm.msc and read manufacturer info
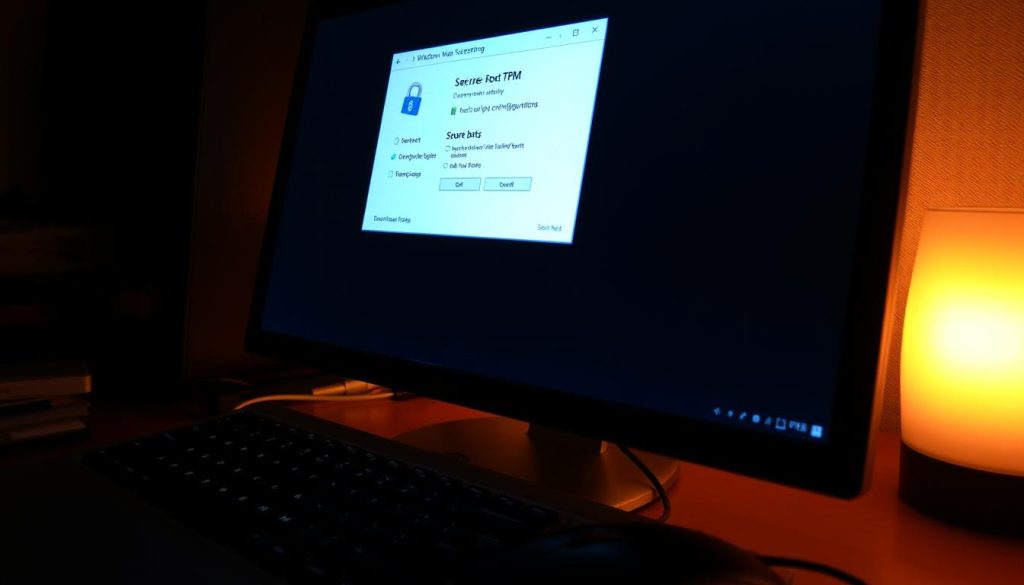
Press Win+R, run tpm.msc, and confirm the console shows “The TPM is ready for use” and lists version 2.0.
Note the manufacturer and version strings. For example, AMD entries like 3.92.0.5 or Intel entries such as INTC 303.12.* may need firmware updates before proceeding.
- Document msinfo32 and tpm.msc outputs before changing settings.
- If the console reports “Compatible TPM cannot be found,” enable Intel PTT or AMD fTPM in firmware.
- Record these values as a baseline for verification after any change.
| Check | What to look for | Action if not present |
|---|---|---|
| BIOS Mode | UEFI | Plan GPT conversion and switch to UEFI |
| Secure Boot State | On / Off / Unsupported | Enable in firmware if supported |
| TPM Status | Ready, TPM 2.0 | Enable PTT/fTPM or install module |
| Manufacturer Info | Version strings (AMD/INTC examples) | Check vendor support for updates |
Enable TPM 2.0 in UEFI firmware settings
Start by using Windows’ Advanced startup to enter the UEFI firmware menu without guessing a hotkey. In Windows 10 go to Settings > Update & Security. In Windows 11 use Settings > System > Recovery > Advanced startup > Restart now > Troubleshoot > Advanced options > UEFI Firmware settings.
Accessing UEFI firmware settings from Windows Advanced options
When the firmware menu appears, look under Security, Advanced, or Trusted Computing. Many vendors name the option Intel PTT or AMD CPU fTPM.
Intel PTT, AMD fTPM, or discrete TPM: where to find the option
If your board uses a discrete trusted platform module, ensure the module is seated on the motherboard header and set to Enabled in the menu. OEM manufacturer menus differ; consult Acer, ASUS, Dell, HP, Lenovo, MSI, GIGABYTE support pages if needed.
Saving changes and confirming TPM readiness in Windows
Save changes and exit (often F10) and allow the system to restart. Back in Windows open tpm.msc and confirm the console shows “The TPM is ready for use” and version 2.0. If options are missing, update BIOS or uefi firmware and recheck the firmware settings.
Enable Secure Boot and align UEFI firmware settings
Start by ensuring the system uses UEFI; only then will signature enforcement be available in most menus.
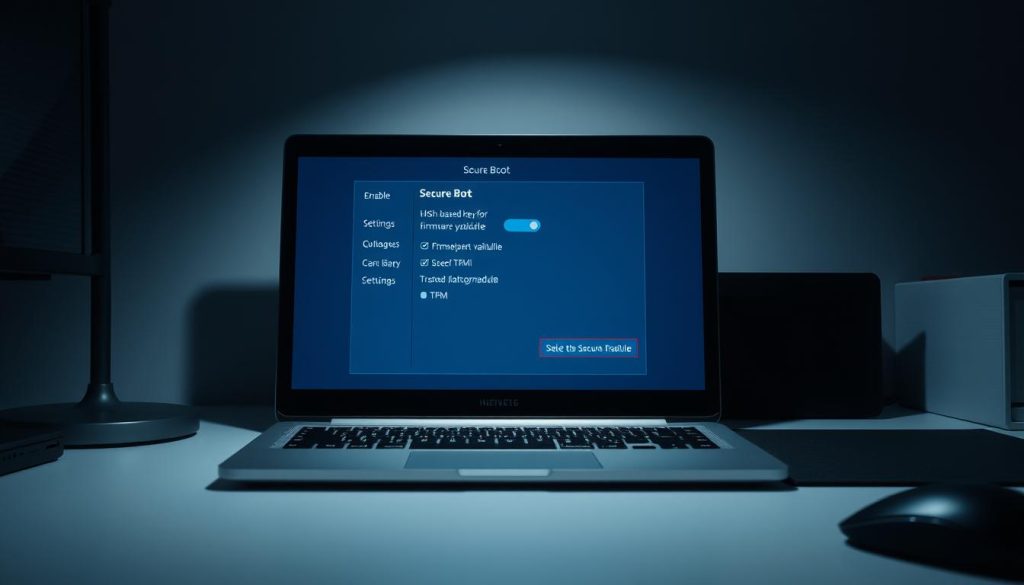
Switch Boot Mode to UEFI and disable CSM
Enter the bios menu during startup (OEM hotkey or Windows Advanced startup). Locate Boot Mode and set it to UEFI. Disable CSM or Legacy support so the signature options become editable.
Turn signature enforcement on and save changes
Find the signature option under Boot or Security and set it to enabled. Some systems require platform keys to be installed or a key reset before toggling the option. Save changes, exit, and allow the system to restart.
- Verify in System Information (msinfo32): BIOS Mode should read UEFI and Secure Boot State should show On.
- If the option stays grayed out, check for firmware updates from your manufacturer and review the vendor menu layout.
- Expect one or more restarts; avoid interrupting power while the system applies changes.
- Ensure critical software and drivers are signed to avoid startup issues once enforcement is active.
Convert disk from MBR to GPT when required
An MBR disk will prevent UEFI startup on most modern systems; verify the partition layout first. Use Disk Management → Properties → Volumes to see if the Windows disk shows MBR or GPT.
Requirements for an in-place conversion include 64-bit Windows 10 version 1703 or later, UEFI-capable firmware, BitLocker suspended or off, and at most three partitions on the system disk.
How to check partition style and safely convert with MBR2GPT
Validate the target system before changing anything. Run: mbr2gpt /validate /allowFullOS. This checks compatibility and reports issues without making changes.
If validation succeeds, run: mbr2gpt /convert /allowFullOS. The utility updates partition structures in place and minimizes downtime.
- Back up critical data and document current settings before starting.
- Suspend BitLocker and any encryption before validation and conversion.
- Follow Microsoft information and tools to reduce risk.
After conversion, restart and enter the bios setup. Change Boot Mode to UEFI, save changes, and let Windows start. Once the OS boots successfully in UEFI, re-enable signature enforcement as needed to complete the protection chain and preserve system integrity.
| Check | Requirement / Example | Action |
|---|---|---|
| Windows version | 64-bit Windows 10 1703+ | Upgrade if older |
| Partitions | Maximum three primary (MBR limit) | Delete or consolidate partitions if needed |
| Encryption | BitLocker suspended or off | Suspend before validate/convert |
| Validation | mbr2gpt /validate /allowFullOS | Run first to check compatibility |
| Conversion | mbr2gpt /convert /allowFullOS | Run if validation succeeds |
Troubleshooting, firmware updates, and enterprise-grade protections
When startup protections act up, a focused troubleshooting plan keeps systems recoverable.
When secure boot is grayed out, or the system fails to start
If the option is unavailable, check that CSM (Compatibility Support Module) is disabled and Boot Mode is set to UEFI in the bios. Use Advanced options in windows to enter firmware quickly.
If the PC won’t start after enabling protections, audit all boot drivers and bootloaders for valid signatures. Replace or update unsigned software before re‑enabling signature enforcement.
TPM firmware update cues for AMD and Intel platforms
Open tpm.msc and note the manufacturer string. AMD versions like 3.92.0.5 or Intel INTC 302/303 series often mean a vendor BIOS update is needed.
Contact the manufacturer portal (Acer, ASUS, Dell, HP, Lenovo, MSI, GIGABYTE) for model‑specific BIOS images and follow their update steps.
Measured Boot and remote attestation for Zero Trust
Measured Boot records startup hashes in the tpm. Enterprises can send those measurements to an attestation server to verify client health and enforce Zero Trust access policies.
- Apply changes methodically: update BIOS, change settings, save, and restart while validating in Windows tools.
- Document every menu change and key sequence so teams can repeat the process safely.
- Use measured attestation at scale to verify integrity and reduce risk in managed environments.
Conclusion
, Combining firmware checks and measured attestation creates a practical defense against pre‑OS threats.
Secure boot, Trusted Boot, ELAM, and Measured Boot work together to validate each component and enable attestation. That chain hardens a system against rootkits and bootkits while giving administrators verifiable state.
Follow a clear set of steps: validate current state in windows, confirm requirements, enable the platform trust option, switch to UEFI, turn signature enforcement on, and verify after restart. Rely on your manufacturer for BIOS updates and menu guidance to avoid instability.
These features are foundational security controls. Keep settings managed and use measured verification over time to sustain protection and strengthen overall security posture.
