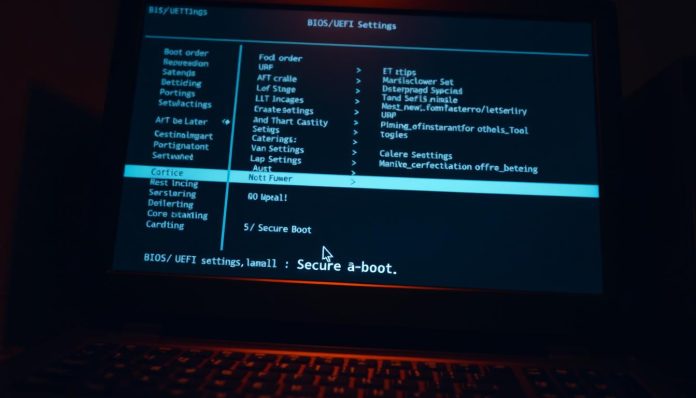
Keeping your computer safe is key in today’s world. One important step is setting up BIOS/UEFI settings, especially Secure Boot. These settings help guard your system from malware and unwanted access.
To get to these settings, check your PC’s manual or follow certain steps. For example, go to Settings > Update & Security > Recovery and click Restart now under Advanced startup. Making these changes can really boost your computer’s security.
This article will show you how to tweak your BIOS/UEFI settings for better security.
Key Takeaways
- Understanding the importance of Secure Boot for home users.
- Learning how to access and configure BIOS/UEFI settings.
- Identifying the necessary changes to enhance computer security.
- Recognizing the role of Secure Boot in protecting against malware.
- Understanding the steps to follow for a secure configuration.
Understanding Secure Boot and Its Importance
To keep your system safe, it’s key to know how Secure Boot works in computer security. Secure Boot makes sure your computer only boots with software the maker trusts. This keeps your system safe from malware and unauthorized changes.
What is Secure Boot?
Secure Boot is a security standard. It ensures your device boots with only approved firmware and software. When you start your computer, the firmware checks each piece of boot software.
If everything checks out, your computer boots up. Then, the firmware hands control over to your operating system.
How Secure Boot Protects Your System
Secure Boot keeps your system safe by stopping malware during boot. Here’s how it works:
- When your computer starts, the firmware checks the bootloader’s signature.
- If the bootloader’s signature is good, the firmware checks the operating system’s signature.
- If all signatures are valid, the operating system loads.
This ensures your system boots securely. It lowers the chance of rootkits and other malware.
| Security Feature | Description | Benefit |
|---|---|---|
| Signature Verification | Checks the digital signature of firmware and software. | Ensures only authorized software runs. |
| Bootloader Protection | Prevents unauthorized bootloaders from loading. | Reduces the risk of malware infection. |
| Firmware Validation | Validates the firmware before booting. | Prevents malicious firmware from running. |
By understanding and turning on Secure Boot, you greatly improve your computer’s security. This protects it from many threats that could harm your system.
Accessing BIOS/UEFI Settings
To get into the BIOS/UEFI settings, you need to press specific keys when your computer starts up. This is key for tweaking your system’s security and performance.
How to Enter BIOS/UEFI on Different Brands
Each computer maker has its own key for BIOS/UEFI access. Here are some common ones:
- Dell: F2 or F12
- HP: F10 or Esc
- Lenovo: F2, F12, or Novo button
- Asus: F2 or Delete
- Acer: F2 or Delete
You can also get into BIOS/UEFI from Windows. For Windows 10, go to Settings > Update & Security > Recovery > Restart now. Then, pick Troubleshoot > Advanced options > UEFI Firmware Settings.
Understanding the BIOS/UEFI Interface
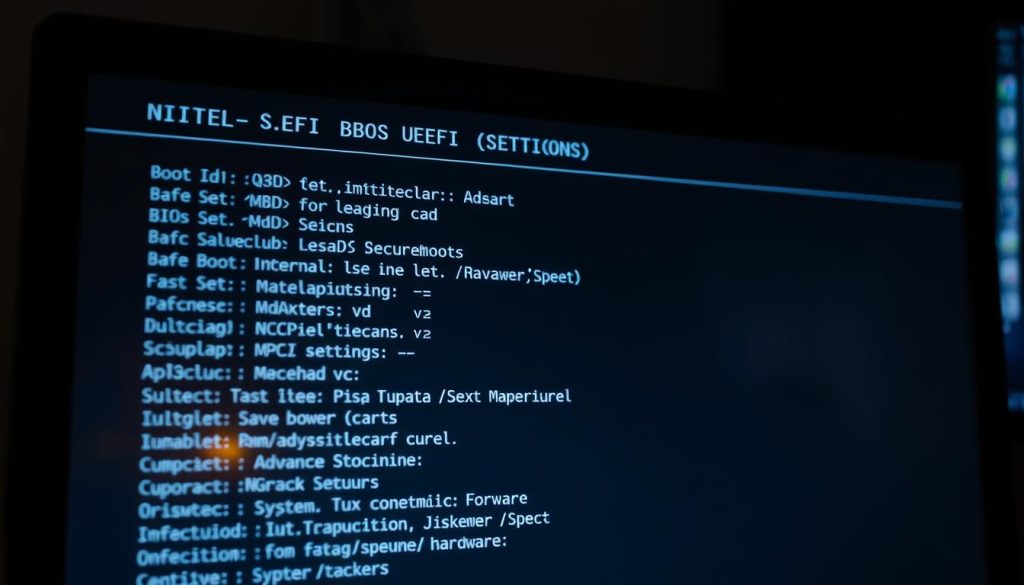
When you get into BIOS/UEFI, you’ll see lots of options and menus. The layout can change based on your motherboard or computer brand. But, you’ll often find sections like:
- Main Menu: Shows basic system details like CPU type, RAM size, and BIOS version.
- Advanced Settings: Lets you tweak advanced features like CPU settings, fan controls, and integrated peripherals.
- Boot Options: Manages the order in which your devices boot, like hard drives, SSDs, or USB drives.
- Security Settings: Offers options for setting passwords, Secure Boot, and other security features.
By exploring these menus, you can change settings to boost your system’s security and performance.
Key BIOS/UEFI Settings to Change for Security
To make your system more secure, you need to tweak some BIOS/UEFI settings. These tweaks will guard your system against threats and keep it safe.
Enabling Secure Boot
Secure Boot makes sure your system only boots trusted software. Here’s how to turn it on:
- Enter your BIOS/UEFI settings (usually by pressing F2, F12, or Del during boot-up).
- Navigate to the Secure Boot section.
- Set Secure Boot to “Enabled” or “On.”
- Save your changes and exit the BIOS/UEFI settings.
Enabling Secure Boot blocks harmful software from booting, boosting your system’s security.
Disabling Legacy Boot Options
Legacy Boot Options, or CSM, let your system boot in an older mode. But, this can weaken security. To turn it off:
- Enter your BIOS/UEFI settings.
- Navigate to the Boot Options or CSM section.
- Set Legacy Boot or CSM to “Disabled” or “Off.”
- Save your changes and exit.
Turning off Legacy Boot Options means your system boots in UEFI mode, which is safer. This step is key to keeping your system secure.
By adjusting these settings, you greatly enhance your system’s security. It’s vital to check and update your BIOS/UEFI settings often to keep your system protected.
Updating BIOS/UEFI Firmware
It’s key to keep your BIOS/UEFI firmware current. Updates often bring security patches and enhancements. These help shield your computer from threats and weaknesses.
Why Firmware Updates Matter
Firmware updates are vital for fixing security holes and boosting system performance. Old firmware can expose your system to known threats. Keeping it updated ensures your system stays safe and runs smoothly.
Updates also enhance system compatibility with hardware and software. This can lead to better performance and fewer system crashes.
How to Update Your BIOS/UEFI Firmware
To update your BIOS/UEFI firmware, first check your manufacturer’s website for the latest versions. Always follow the manufacturer’s instructions to avoid risks during the update.
Here’s how to update your BIOS/UEFI firmware:
- Identify your motherboard model or computer manufacturer.
- Visit the manufacturer’s website and search for the support or downloads section.
- Find the latest BIOS/UEFI firmware update and download it.
- Follow the instructions provided by the manufacturer to update the firmware.
By following these steps and keeping your firmware current, you ensure your system stays secure. It also gets the latest improvements and enhancements.
Configuration Options for Enhanced Security
Secure Boot is just the start. There are many other ways to make your system more secure. Adjusting your system settings can block unauthorized access and fight off threats.
Boot Order Configuration
Changing the boot order is key to securing your system. Make sure your system boots from the right device first. This stops unauthorized devices from starting your system. Here’s how to do it:
- Enter your BIOS/UEFI settings (usually by pressing F2, F12, or DEL during boot-up).
- Navigate to the Boot Options or Boot Order section.
- Set your primary boot device (usually your hard drive or SSD) as the first boot device.
- Save your changes and exit the BIOS/UEFI settings.
Ensuring that your system boots from the correct device first is a simple yet effective way to enhance security.
Disabling Unused Ports and Devices
Turning off unused ports and devices stops potential threats. Unused ports, like USB, and devices, like network cards or optical drives, can be disabled in the BIOS/UEFI settings. This reduces your system’s attack surface.
To disable unused ports and devices:
- Enter your BIOS/UEFI settings.
- Navigate to the Advanced or Peripheral Configuration section.
- Identify unused ports or devices and disable them.
- Save your changes before exiting.
This step can significantly reduce the risk of your system being compromised through peripheral devices.
By using these settings, you can greatly improve your system’s security. Always check and update your BIOS/UEFI settings to keep your system safe.
Monitoring System Integrity
To make your system more secure, it’s important to know about Trusted Platform Module (TPM). TPM is a chip that adds extra protection to your computer. It helps keep your system safe and sound.
What is TPM?
TPM, or Trusted Platform Module, is a special chip that boosts your system’s security. It’s a tiny processor that keeps important data, like encryption keys and passwords, safe from hackers. Using TPM makes your system much more secure.
Key Features of TPM:
- Secure storage of sensitive information
- Hardware-based encryption
- Enhanced system security
- Protection against unauthorized access
Enabling TPM in BIOS/UEFI
To turn on TPM, you need to get into your BIOS/UEFI settings. The steps might differ based on your system, but here’s a general guide:
- Restart your computer and enter the BIOS/UEFI settings (usually by pressing F2, F12, or Del).
- Navigate to the “Security” or “Advanced” tab.
- Find the TPM option and turn it on.
- Save the changes and exit the BIOS/UEFI settings.
After enabling TPM, you can use its features to boost your system’s security. Here’s a look at systems with and without TPM:
| Feature | With TPM | Without TPM |
|---|---|---|
| Encryption | Hardware-based encryption | Software-based encryption |
| Security | Enhanced system security | Lower system security |
| Data Protection | Secure storage of sensitive information | Vulnerable to unauthorized access |
By turning on TPM and understanding its role in security, you’re taking a big step to protect your computer. Always check your BIOS/UEFI settings to keep TPM active and your system safe.
Troubleshooting Common Issues
Running into problems with Secure Boot and BIOS/UEFI settings is common. It’s important to know how to fix them. These issues can mess with your system’s performance or security.
Problem-Solving Secure Boot Failures
Secure Boot failures can happen for many reasons. This includes wrong settings or not matching with your operating system. To fix these problems, you should:
- Check the boot order to ensure that the correct device is prioritized.
- Verify that Secure Boot is enabled in the BIOS/UEFI settings.
- Ensure that your operating system is compatible with Secure Boot.
Identifying the cause of the failure is key to resolving it effectively.
Restoring BIOS/UEFI Defaults
If you’re having trouble with your BIOS/UEFI settings, try resetting them to default. Here’s how:
- Enter the BIOS/UEFI settings menu.
- Look for the option to restore default settings, usually found under an “Exit” or “Advanced” tab.
- Confirm that you want to restore the defaults.
Restoring defaults can solve many problems but will erase any custom settings you’ve made.
| Issue | Solution |
|---|---|
| Secure Boot Failure | Check boot order, verify Secure Boot is enabled |
| BIOS/UEFI Configuration Issues | Restore default settings |
| Incompatible Operating System | Update or change the operating system to one compatible with Secure Boot |
Best Practices for Home Users
Home users can make their systems more secure with a few easy steps. By checking and updating your BIOS/UEFI settings often, you keep your system safe from threats.
Regularly Review BIOS/UEFI Settings
It’s key to check your BIOS/UEFI settings now and then. Make sure Secure Boot is on and the boot order is right. This keeps your system safe and prevents security issues.
Create a Backup of Current Settings
Backing up your BIOS/UEFI settings is a must for security. It lets you quickly fix any changes or damage. This keeps your system settings current and safe.
For home users, these steps greatly improve system security. Regular checks and backups of BIOS/UEFI settings are simple but very effective for cybersecurity essentials.
Conclusion: Empowering Your System’s Security
Configuring your BIOS/UEFI settings is key to keeping your system safe. By turning on Secure Boot and making other important changes, you boost your computer’s security. This makes your system more secure.
Firmware security is vital for computer safety. Keeping your BIOS/UEFI settings up to date helps protect against new threats. Always look for the latest security updates and follow best practices to safeguard your system.
Maintaining Ongoing Security
It’s important to check and update your BIOS/UEFI settings often. This helps keep your system safe from threats. Always watch for security risks and take steps to protect your system.
By following the advice in this article, you can strengthen your system’s security. Stay alert and keep your system safe to protect your data and computer.
